This tutorial demonstrates how to build a basic user management app. The app authenticates and identifies the user, stores their profile information in the database, and allows the user to log in, update their profile details, and upload a profile photo. The app uses:
Supabase Database - a Postgres database for storing your user data and Row Level Security so data is protected and users can only access their own information.
Supabase Auth - users log in through magic links sent to their email (without having to set up passwords).
Before we start building we're going to set up our Database and API. This is as simple as starting a new Project in Supabase and then creating a "schema" inside the database.
Now we are going to set up the database schema. We can use the "User Management Starter" quickstart in the SQL Editor, or you can just copy/paste the SQL from below and run it yourself.
You can easily pull the database schema down to your local project by running the db pull command. Read the local development docs for detailed instructions.
_10
supabase link --project-ref <project-id>
_10
# You can get <project-id> from your project's dashboard URL: https://supabase.com/dashboard/project/<project-id>
Now that you've created some database tables, you are ready to insert data using the auto-generated API.
We just need to get the Project URL and anon key from the API settings.
Then let's install the only additional dependency: supabase-js
_10
npm install @supabase/supabase-js
And finally we want to save the environment variables in a .env.
All we need are the API URL and the anon key that you copied earlier.
.env
_10
VITE_SUPABASE_URL=YOUR_SUPABASE_URL
_10
VITE_SUPABASE_ANON_KEY=YOUR_SUPABASE_ANON_KEY
With the API credentials in place, create an src/supabase.js helper file to initialize the Supabase client. These variables are exposed
on the browser, and that's completely fine since we have Row Level Security enabled on our Database.
src/supabase.js
_10
import { createClient } from '@supabase/supabase-js'
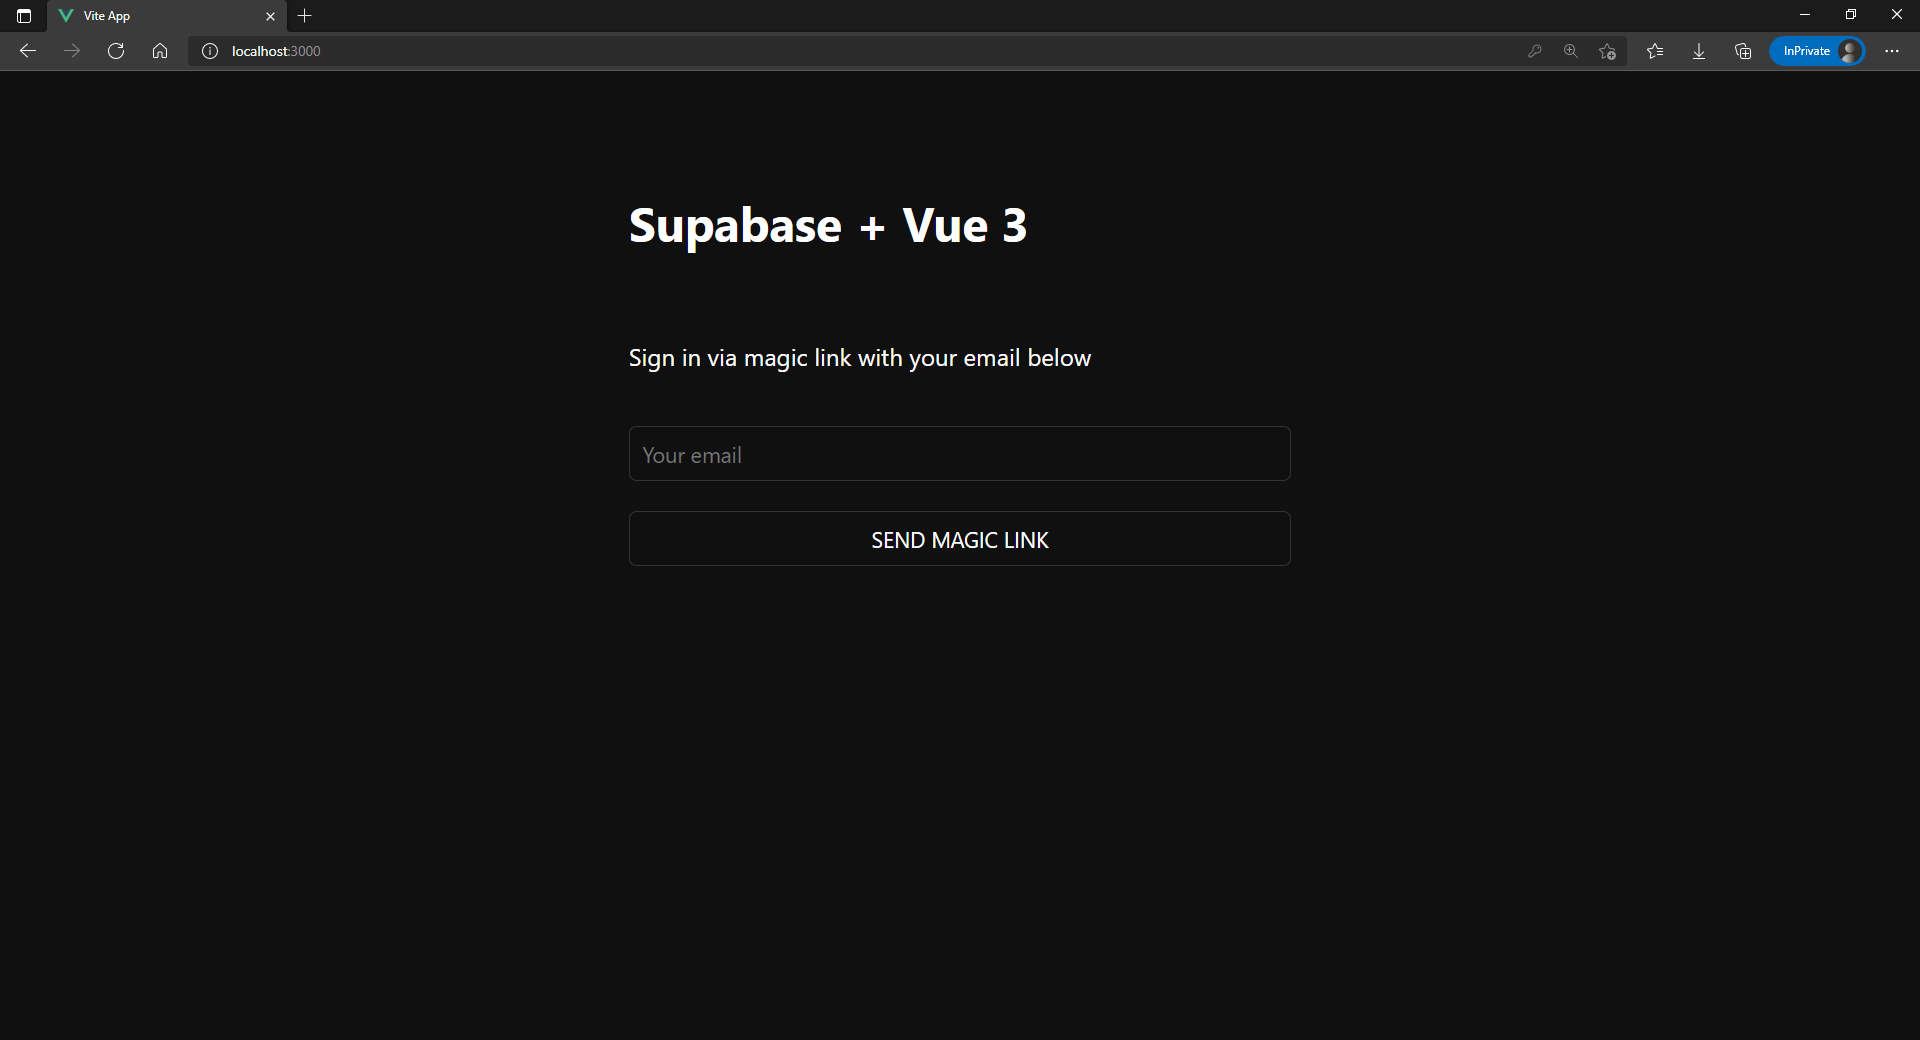
Set up an src/components/Auth.vue component to manage logins and sign ups. We'll use Magic Links, so users can sign in with their email without using passwords.
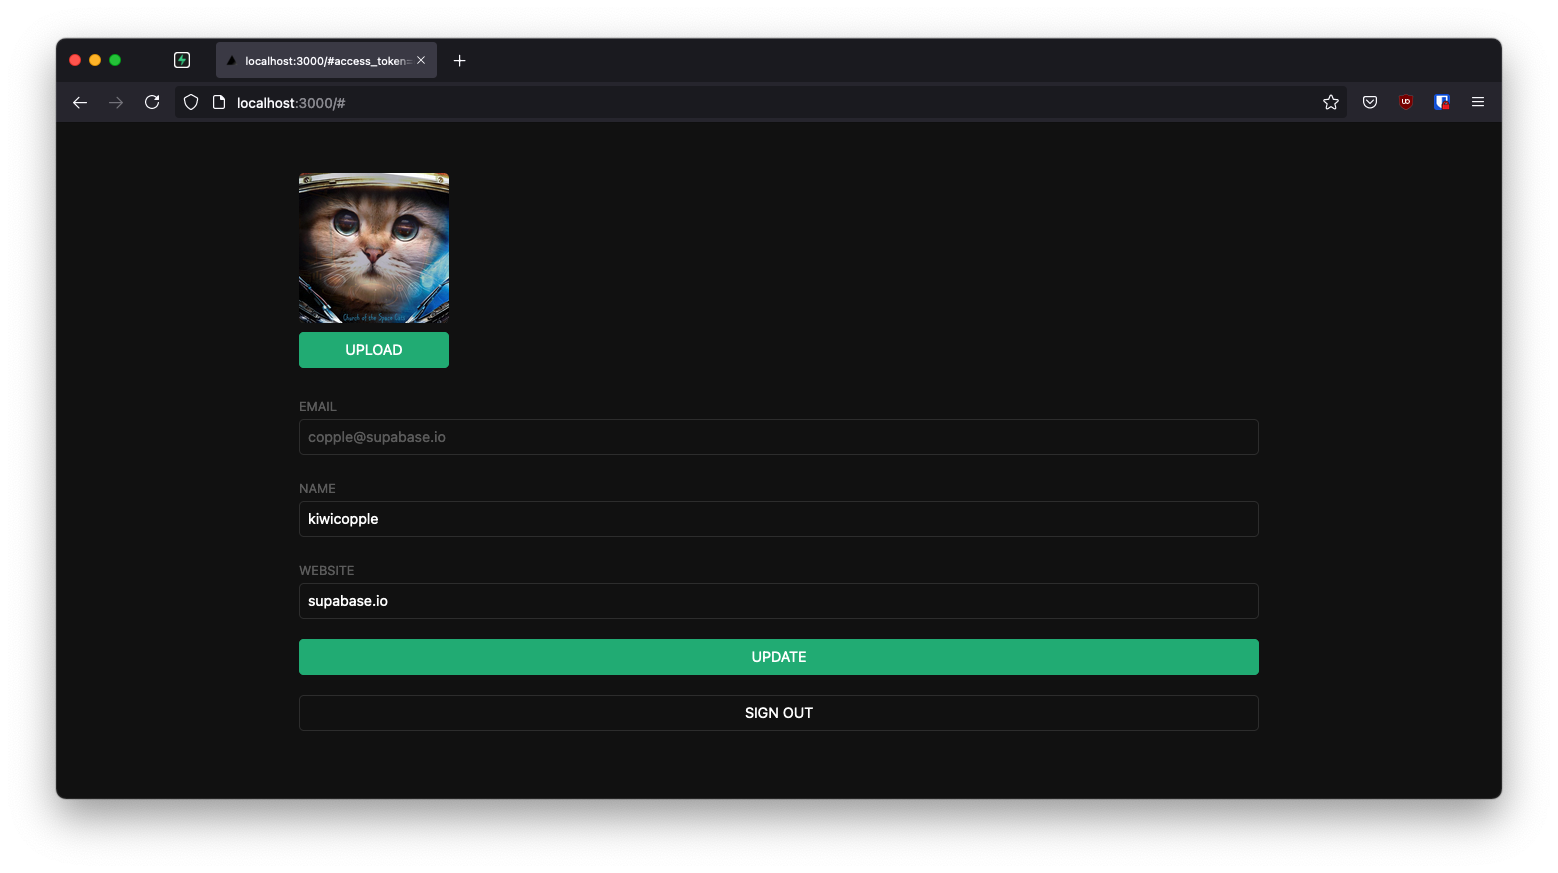
After a user is signed in we can allow them to edit their profile details and manage their account.
Create a new src/components/Account.vue component to handle this.